Technical Specifications
Comprehensive technical details and performance specifications
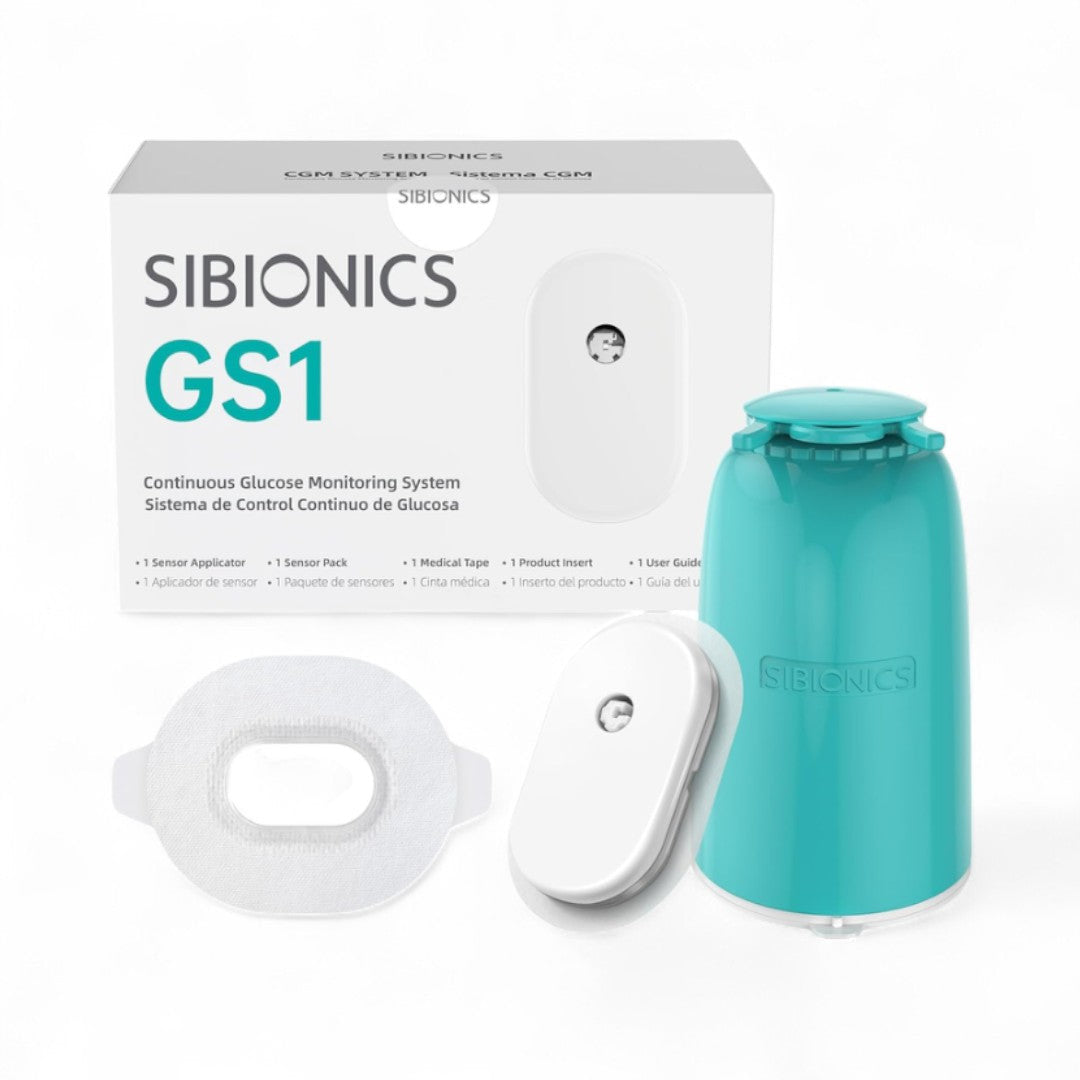
Pickup currently not available
The SiBionics® GS1 is a wearable sensor that provides uninterrupted glucose data for 14 days. It’s CE-certified, water-resistant, and syncs seamlessly to your smartphone — giving you peace of mind with every reading.
14-day continuous glucose monitoring without the need for finger-pricking
Calibration-free and water-resistant (IPX8 rated)
Real-time data synced via Bluetooth to the SIBIONICS app
CE mark certified, ensuring compliance with EU health standards
Instant alerts for high and low glucose levels
Exceptional accuracy with readings every 5 minutes
No scanning required – truly automatic
Secure data sharing with doctors or caregivers
No prescription required.
Free local delivery across Mauritius.
Comprehensive technical details and performance specifications

Master the 9-step application process with interactive learning
Select the proper location on the back of your upper arm for sensor placement.
Apply sensors only on the back of the upper arm. Choose a clean, dry area with good blood flow and adequate subcutaneous tissue.
Properly clean and prepare the skin before sensor application.
Clean the chosen site with an alcohol wipe and allow it to dry completely. This ensures proper sensor adhesion and reduces infection risk.
Carefully open the sensor packaging and prepare the applicator.
Peel the lid from the sensor pack and remove the cap from the applicator. Handle with clean hands to maintain sterility.
Properly align and insert the applicator into the sensor pack.
Align the bulge on the applicator with the pack opening. Press firmly on a hard surface until you hear or feel it click into place.
Remove the loaded applicator from the sensor pack.
Carefully lift the applicator straight out of the pack. The sensor should now be properly loaded and ready for application.
Remove the safety mechanism to activate the applicator.
Now remove the safety clip from the applicator. The applicator is ready for use and the sensor insertion mechanism is activated.
Insert the sensor into your arm using the applicator.
Place the applicator on the cleaned site and push down firmly in one quick, decisive motion to insert the sensor.
Safely remove the applicator leaving the sensor in place.
Gently remove the applicator by lifting it straight up. The sensor should now be securely attached to your arm with the adhesive patch.
Link your sensor to the SIBIONICS app to start monitoring.
Check that the sensor is secure, then connect it to the SIBIONICS app to begin continuous glucose monitoring and data collection.
Test your understanding of the SIBIONICS GS1 application process
Download the complete user guide and mark your learning as complete
Your GS1 sensor adapts to every lifestyle

Monitor your health during workouts and track your progress with real-time data.
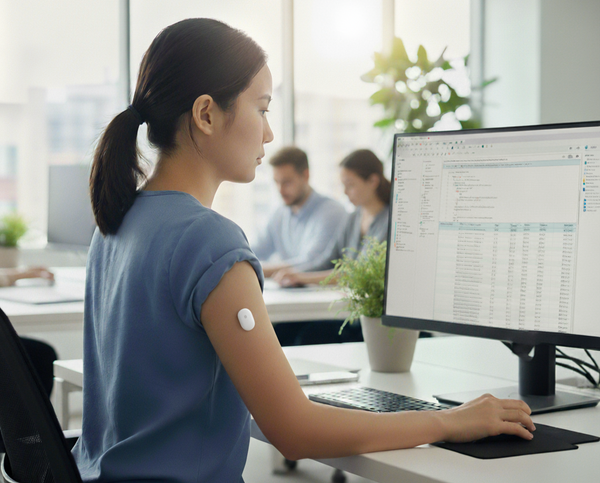
Stay productive while maintaining your health throughout your busy workday.

Continuous monitoring in the comfort of your home environment.
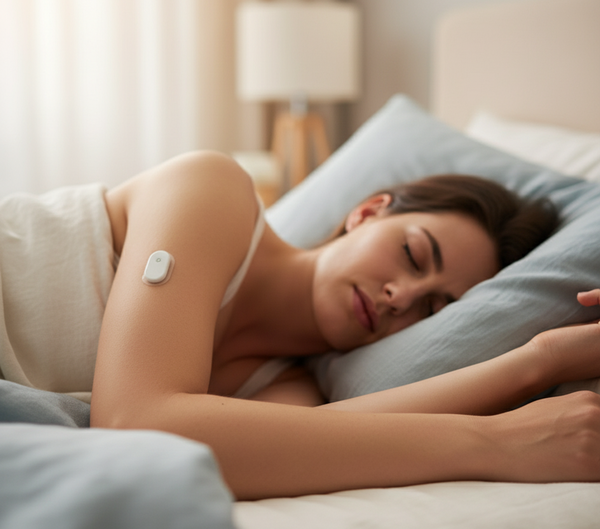
Track your sleep patterns and optimize your rest for better health.

Professional-grade monitoring for medical environments and healthcare.

Portable health monitoring wherever your journey takes you.
Be the first to know about new collections and special offers.